<a href="menu.shtml">Table of Contents</a>
<br>
Printing an Exact Photo Size
The following will walk you through printing an exact sized photo:
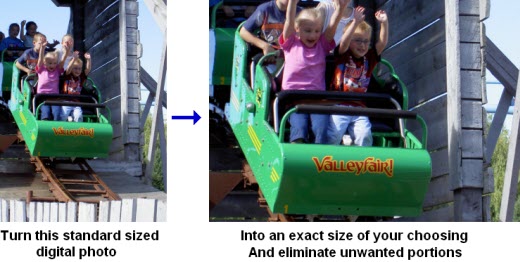
PhotoELF can do this automatically.
Here are the steps to take:
- Load your photos into the Print window ( See: How to Print )
- Click the Crop button on the tool panel:

- Then click the "Make it" button that matches the size you want:

- If the size you want is not listed, then click the Edit These Sizes button.
- When you click a Make it button, the Advanced Cropping box will appear with your photo in it:
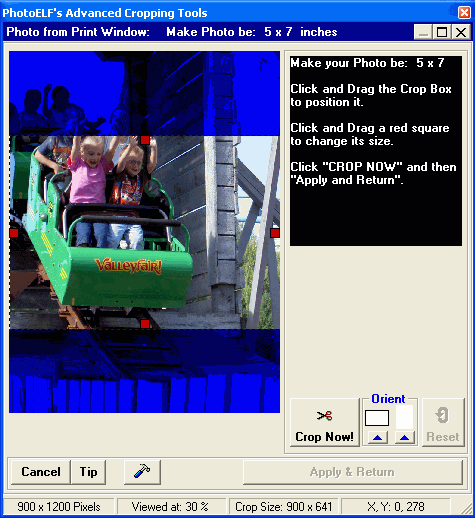
- Choose the orientation of the crop box (Portrait or Landscape) next to the "crop now" button
- Simply adjust the size of the crop box to any size you want by clicking and dragging one of the red squares surrounding the
crop box.
- Position the crop box to anywhere you want by moving your mouse to the middle of the crop box and clicking and dragging.
- You can also use the controls on the right to change the size of the crop box 1 pixel at a time (for fine tuning)
- Click the Crop Now button
- And then click the "Apply and Return" button
Your photo will then be returned to the print window to the exact size you specified, (to within .03 inches) which is so small
that you will not notice it.
All you have to do then, is position it on the page and send it to the printer.
Home
Privacy Policy
PhotoELF
Download PhotoELF